SppDb comes with a sample data file called FirstSample containing information on several species. We recommend experimenting with this sample data before using SppDb to create a new data file and add your data.
![]() Click on the icon to play a movie introducing SppDb by examining a sample plant data file supplied with SppDb.
Click on the icon to play a movie introducing SppDb by examining a sample plant data file supplied with SppDb.
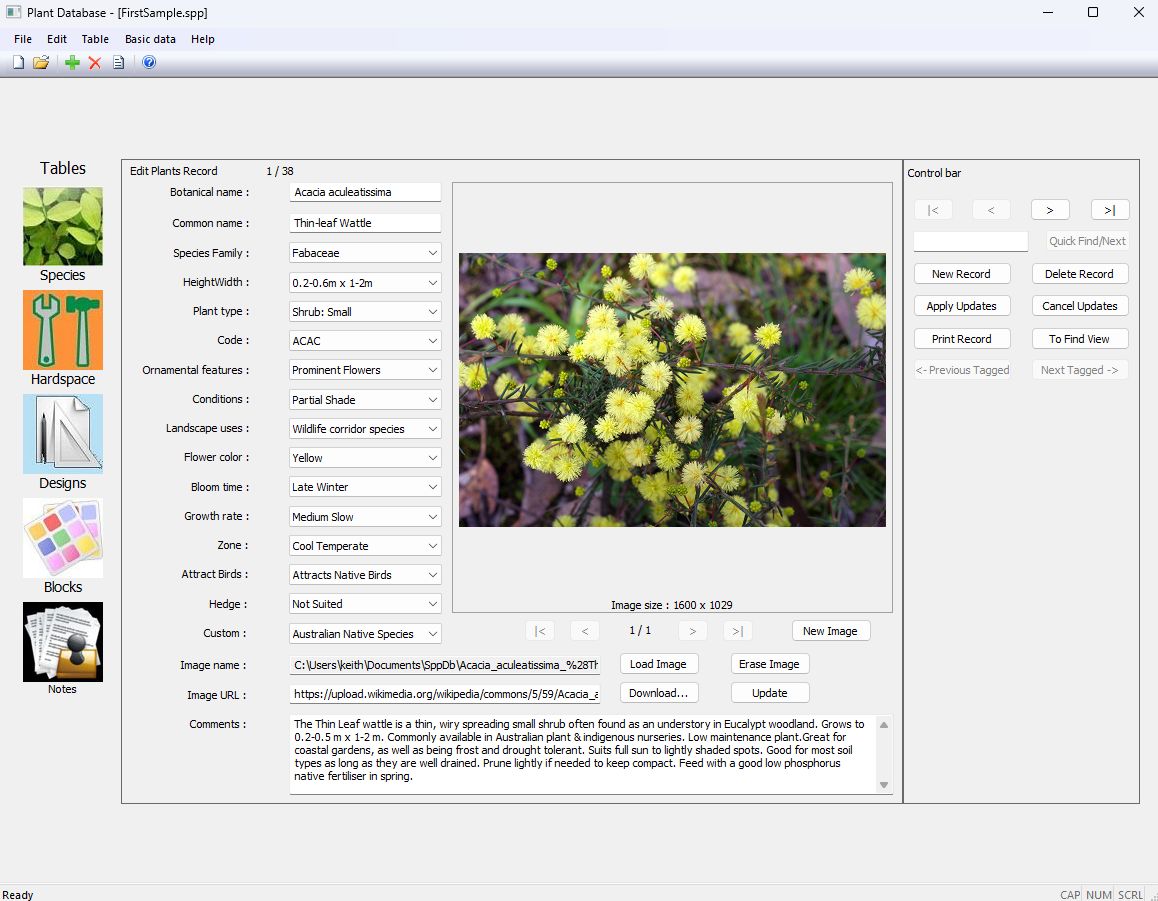
The image below shows the first screen of a database called FirstSample.
Here is another view of the interface from a different database, showing some of the colour options available in this particular database.

![]() In this video, we show how to add a new record for a plant species – Prunus nigra – in our SppDb. This application stores information about a species’ botanical and common names, its ornamental features, the botanical family, flower colour, growth rate, climatic zone and a detailed description. We apply and update the new record. Finally, we show how to use the find operation filter and print lists of species meeting specific criteria.
In this video, we show how to add a new record for a plant species – Prunus nigra – in our SppDb. This application stores information about a species’ botanical and common names, its ornamental features, the botanical family, flower colour, growth rate, climatic zone and a detailed description. We apply and update the new record. Finally, we show how to use the find operation filter and print lists of species meeting specific criteria.
SppDb step-by-step
When SppDb is started, a splash screen shows briefly. The Plant Database view follows this. At this point, you could create a new database file and begin to add your information, but we suggest that you open one of our sample files. This sample data set will allow you to see what the software can do without adding your data.
Click File>Open and select the database file called FirstSample.spp.
Tip: To find the Firstsample database file, you may need to navigate to your My Documents and SppDb folders.
After selecting the FirstSample database set, the ‘Edit Plants Record’ screen below will appear. This is the screen to create new entries (records) and change existing entries.
Tip: You may not see a plant image. If your computer is connected to the Internet, clicking the download URL image button will download an image from our website and populate the database.
The database is in alphabetical order of species name. Use the data controls in the Control bar at the top right of the window to scroll backward and forward through the plant file. The information about each plant is referred to as a record. The >| control can be used to move to the last entry, and the |< moves to the first entry. In the example below, we used the > key and scrolled forward to record 19, a small groundcover species, Brachyscombe multifida.

Searching
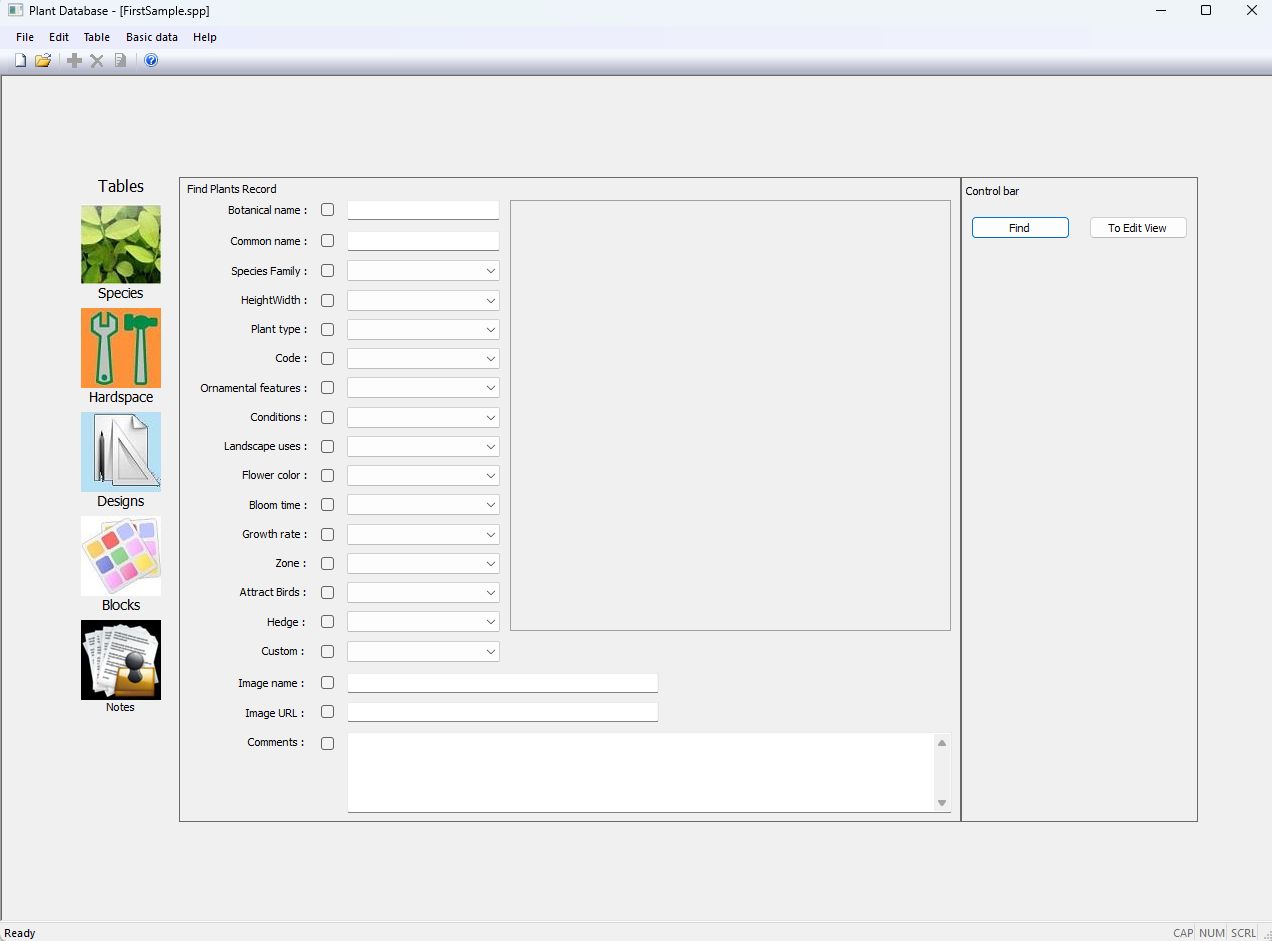
Finding plants that meet specific criteria is simple. Click on the ‘To Find View’ button at the bottom right of the screen. A ‘clean’ version of the plant descriptor form will show.
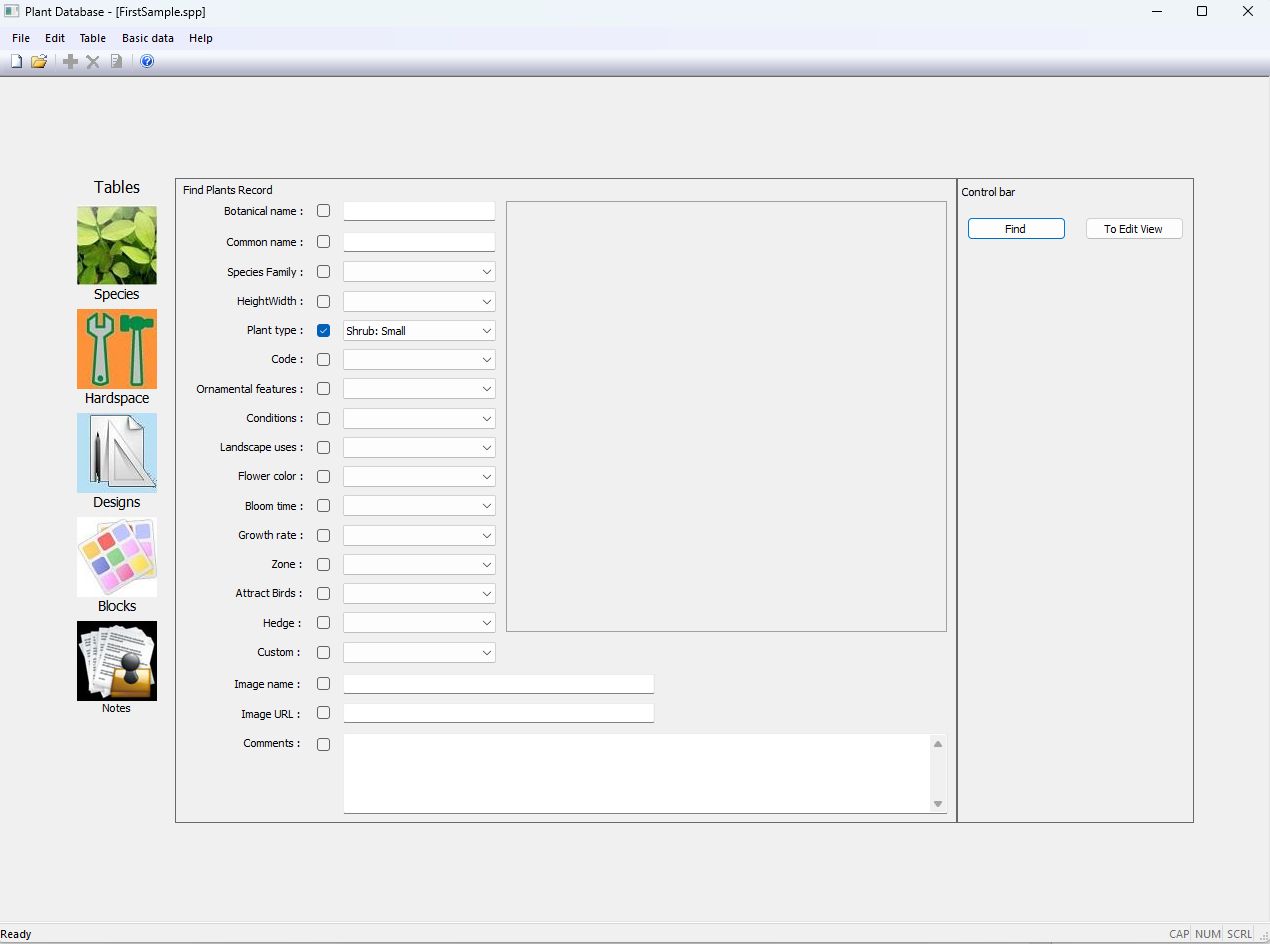
Click the tick box to the left of the category you wish to search for and select the desired criteria from the drop-down list. As an example, tick the Plant type option and select Shrub: Small from the drop-down list.
A table showing species that meet that criterion.
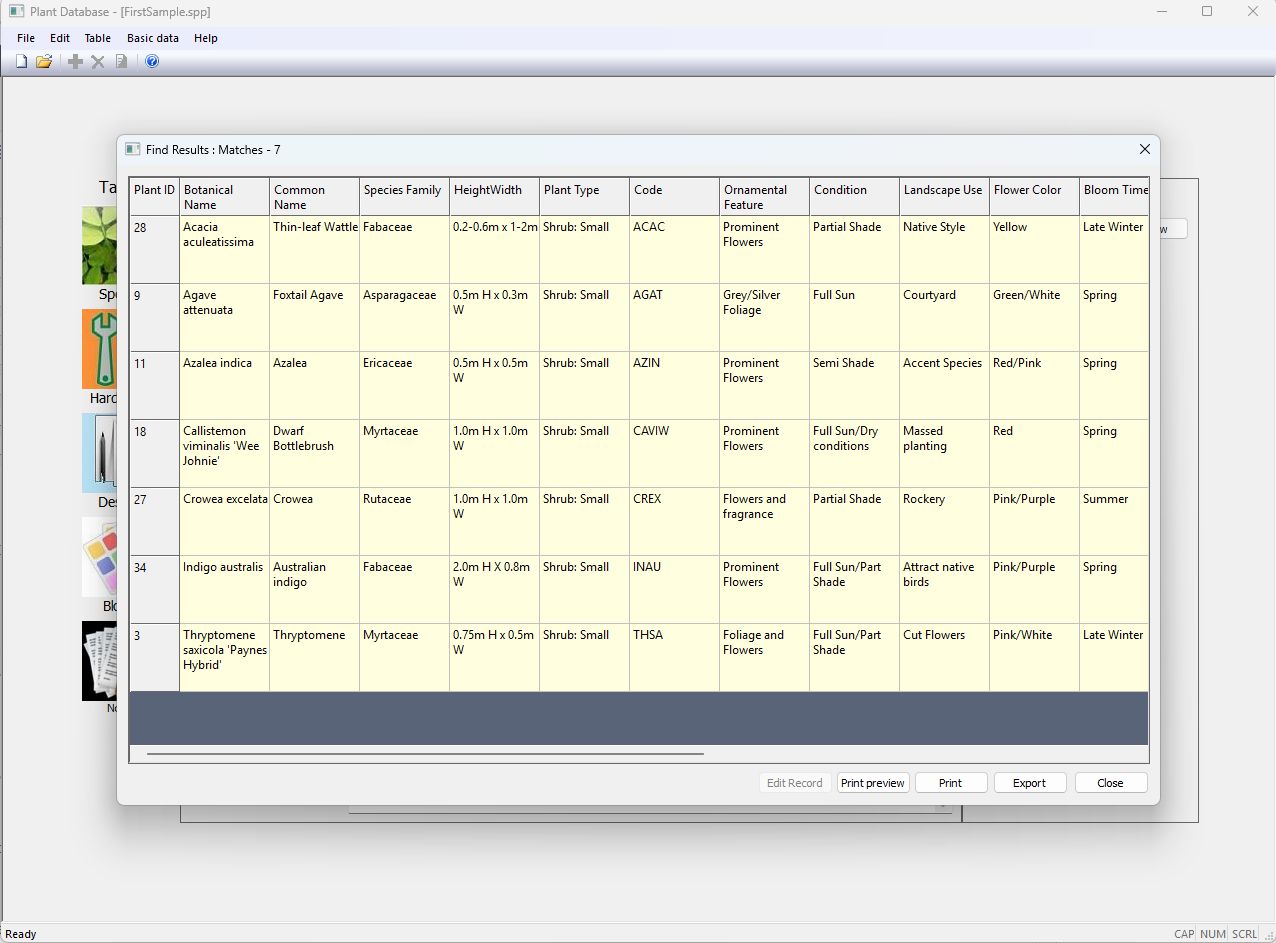
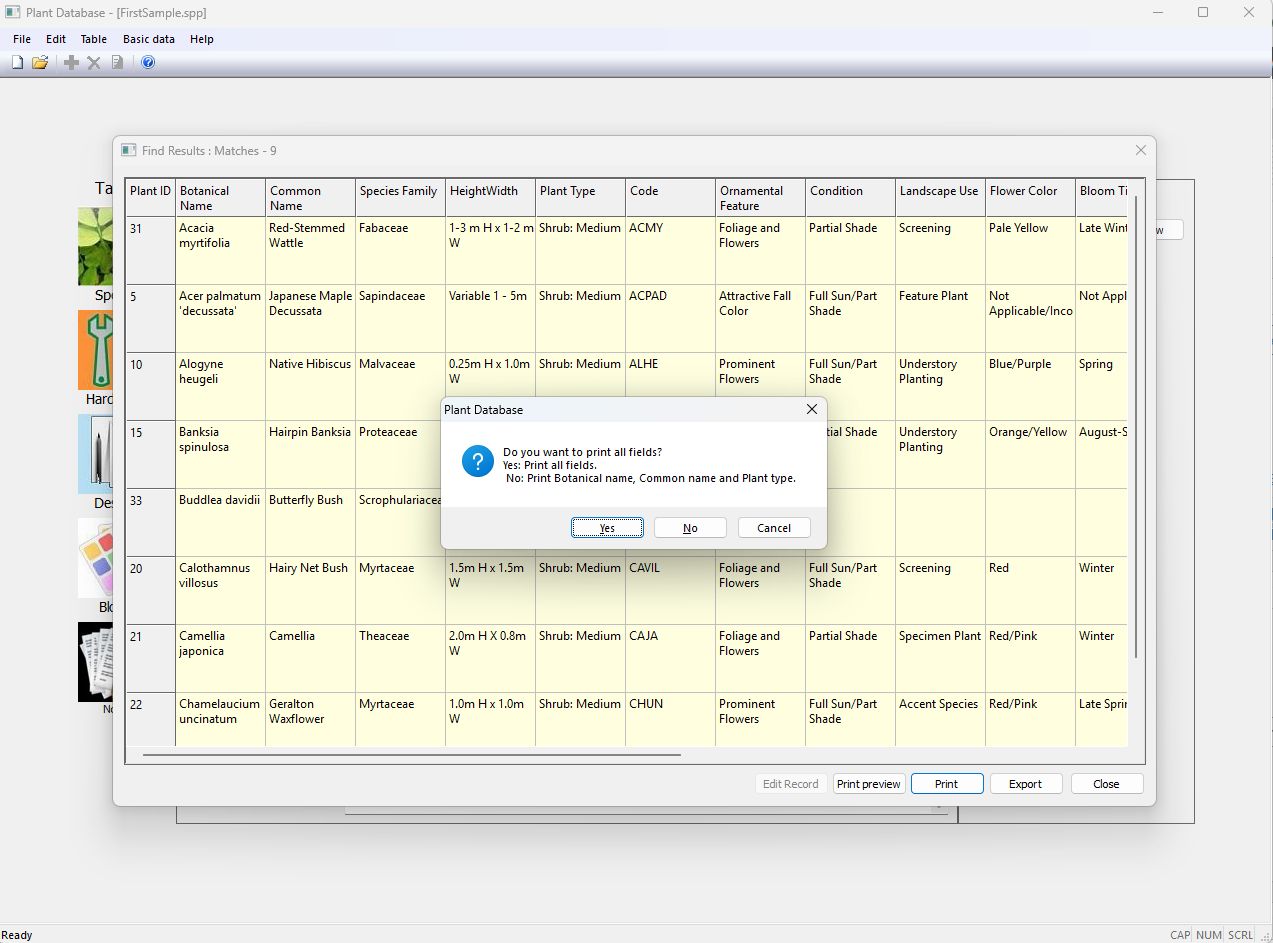
Tip: Similarly, it is also possible to find plants with a particular name—typing ‘Ac’ in the botanical name field will find all species with botanical names starting with ‘Ac’ in the database. Once you have generated the list, select the Print button to produce a printed list of the botanical name, common name, and size or all fields. The Close button returns to the Edit Plant record view, and the Preview option puts the list on the screen.
Tip: If you need a PDF copy of the list, select a ‘phantom’ printer such as a CutePDF writer.
Adding a record
New records (plants) are added via the Edit Plant Records view. Click New Record, and a blank screen will appear. Type the botanical and common names of the species you are adding and categorise its uses by selecting an option in the appropriate boxes (fields), as shown below.
When ready to add the image, click the Load Image button. Then, navigate to the location on your computer system where the photo of the plant you have taken resides. Here, we are adding an image for Eucalyptus caesia from a Photo Library folder on our G: drive. The location of your image files will be different.
However, we recommend you use your favourite image editor (we like the free IrfanView editor) and reduce the file size of each image you load to a maximum of 1200 pixels wide. Experience tells us that this image size prints at a good resolution on most sheet sizes.

Note that we have not used the species’ botanical name as the image file’s name. This is not recommended practice. You will find it much easier to work with SppDb if you edit the photos that you take with a tool such as IrfanView, adjust the size of the image to a maximum of 800 pixels, name the resultant image file the same as the species and generic name of the plant species.
After adding your description, click the Apply Updates button in the comments field. The new record is now in the database.
Creating and editing basic data
The descriptors for the essential characteristics of plants in your collection are entirely flexible. The image below shows us adding some information about the Star Jasmine. The first field in the list (Plant Type) shows the descriptor Vine. Our preferred descriptor is “Climber.” So we assign Vine, head to the Basic data drop-down menu, and edit the file Vine, changing it to Climber.

The image below shows us doing just that.

All entries in the database previously categorised as vines have now become climbers.
The image below shows Wisteria. We have categorised the species as far as the landscape Uses field but do not have a suitable term for the plant. We prefer arbour, so we added it to the category similar way to the previous edit.

As shown below, we added a new descriptor, Arbour, via basic data and landscape uses.

Here is the result. Please make sure that you click the “Apply Updates” button after editing.

This method allows you to add considerable flexibility to the database and tune it to your usage terms.
Here is another example where we added the term “Water-Wise” – a term that will be used in searching for plans that will survive the site’s natural rainfall.

Storing ‘hardscape’ data
Images of other elements essential in landscape design can also be stored using a separate table. Select Table and then Hardscape Elements as shown below. This database works in exactly the same way as the plants database.

Landscape design files
You may wish to keep records of previous designs developed in your CAD application. A separate table is used for that purpose. A job can have several characteristics associated with it. Searching, printing, and copying paths operate in the same way as they do with plants.

Symbols
We provide a table containing information about CAD symbols you develop (symbols that differ from those delivered with your CAD software). Again, the method of interacting with the table is the same as that for plants.

Create a new data file.
You will want to create your own plant data file. If you have a data file open, close it via the File drop-down menu and then select New, as shown below.

We have named the file “tropical,” but your landscape design practice’s name would be a better name.
The first screen (record) you see will be blank.

Data entry can be made in several ways. If you know the botanical name of the plant species, type it in, then work your way down the list of fields. It is ok to leave a field blank.
The categories you see associated with a field are under your control. The figure below shows the drop-down list of categories in the Plant Type field.

Clicking on the Basic Data drop-down menu and then on plant type brings up a list of categories for this plant type field, as shown below. This basic plant-type editor allows you to rename options or create new ones. Our aim is not to force terms that you are not comfortable with. Some users in the Northern Hemisphere prefer to separate species into deciduous and evergreen and have several height categories for each. Remember, the whole aim of SppDb is for the software to work the way you work using terms you understand.

When it comes to the image you want to store for the species, click “Load Image” and browse to the location on your computer where the image is stored. We store ours on a server drive (G:) and in a folder called photo library, a subfolder called plants and a further subfolder named the same as the plant species. Once selected, the image will be loaded. SppDb copes with images in either landscape or portrait mode. The image below shows the result of adding Agapanthus praecox to an SppDb database. You can store images from the Internet (and you might choose to do that if you have permission to use those images in your professional work). Still, we like to store our photos (edited to a size appropriate for CAD drafting) in the data file.

The categories in other fields can be adjusted similarly. The figure below shows us changing a description in the ornamental features field from Attractive Fall Colour to Autumn Leaves. Both mean the same, but we prefer the latter description.

You might want to add compound descriptors to a field. For example, Wisteria sinensis is used as an arbour species but works well as a standard specimen. The figure below shows that we added a compound descriptor for that purpose.

Viewing options
Switching from the Edit Plant Record view to a spreadsheet-like view of all the plants in the database is possible, as shown below. A quick find option at the top of the screen lets you quickly move to a particular record, such as a poppy.
Tip: we have dispensed with this option – use the buttons on the left to switch tables.

If the record is highlighted after a Quick Find, switching the view again takes you directly to the record for the poppy, as shown below. This ‘trick’ makes finding plant records and editing much easier as the database grows.
Using other languages
You can customize the options in various categories to suit your work style, including the use of other languages.